When you decide to paint the interior of your flat in Madrid, Barcelona or any other Spanish city, it's easy to think that success depends on the quality of the paint or the colour chosen. However, surface preparation accounts for around 70% of the final result. Mistakes at this initial stage can ruin even the most expensive paint and the most careful work. In this article we review the most frequent technical failures when preparing interior walls and how to solve them before it's too late.
Not assessing the real condition of the surface before starting
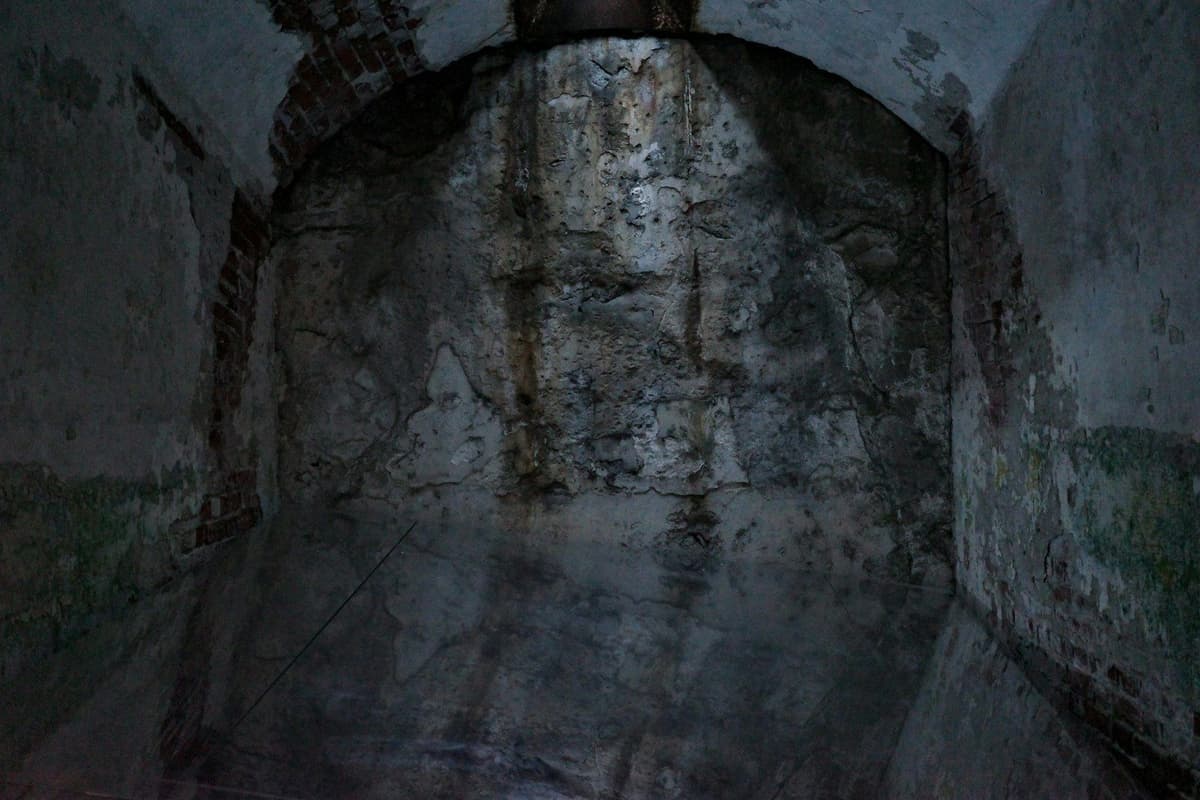
One of the most common mistakes is starting to paint without thoroughly checking the condition of the walls. Many homes in Spain, especially in old buildings in cities like Valencia, Seville or Zaragoza, have accumulated layers of paint, latent dampness, fine cracks or areas with deteriorated plaster.
Before you touch a brush, take time to inspect each wall in good light. Look for cracks, chips, damp patches, mould, or areas where the previous paint is lifting. If you find structural problems (wide cracks, active dampness), solve them first. Painting over a damaged wall only disguises the problem for a few weeks.
In flats with new plaster walls or freshly plastered ones, the problem is different: porosity. Plaster absorbs paint unevenly, which causes stains and an irregular matt finish. Identifying the type of surface (plaster, cement, old plastic paint, textured coating) allows you to choose the correct preparation.
Skipping cleaning and sanding
It seems obvious, but it's surprisingly common: many people apply paint over dusty, greasy or simply dirty walls. Dust, accumulated smoke in kitchens, grease splashes or adhesive tape residue prevent the paint from adhering properly.
Always clean walls with a damp cloth (not soaked) before painting. If the surface is very dirty, use water with a little neutral detergent, rinse and leave to dry completely. In kitchens or bathrooms, where there may be grease or soap residue, this step is essential.
Sanding is equally important. Sand with medium-grit paper (120-150) areas with glossy or satin paint to create roughness and improve adhesion. Then, use fine sandpaper (220) to remove imperfections and smooth the surface. Remove all dust with a dry or slightly damp cloth before continuing.
Repairing cracks and holes insufficiently or incorrectly
Filling a hole with filler and painting over it is not enough if it's not done properly. Many repairs fail because the crack was not opened enough, the filler was not left to dry, or was not sanded afterwards.
To repair cracks correctly, slightly widen the fissure with the edge of a putty knife or a bottle opener, forming a V shape. Clean the dust inside with a dry brush and slightly dampen the crack (this helps the filler to grip better). Apply filler in thin layers, leave to dry between coats, and sand at the end until it's flush with the wall.
Holes from wall plugs or nails should also be cleaned, filled with filler and sanded. If the hole is deep, fill it in two stages. Don't rush: a poorly repaired hole will show after painting, and you'll have to redo the work.
Not applying primer or sealer when the surface needs it
Primer (or sealer, or fixative) is one of the least understood and most underused products. Many people skip it because they think it's an unnecessary expense or because they believe two coats of paint are enough. It's a mistake.
Primer prepares the wall so that the paint adheres without problems, seals the porosity of the plaster and allows even absorption of the paint1. On new plaster walls, untreated cement, very porous surfaces or worn old paints, primer is essential. Without it, the paint absorbs unevenly, the colour looks dull and you'll need more coats (and more litres) to cover.
Apply the primer with a roller or brush, evenly, and respect the drying time indicated by the manufacturer (normally between 2 and 4 hours). Once dry, you can lightly sand with fine sandpaper if you want an extra smooth finish. This step makes an enormous difference to the final result.
Leaving painter's tape on too long or removing it incorrectly
Painter's tape (or masking tape) is essential to protect frames, skirting boards, switches and achieve clean lines. But using it incorrectly can spoil the finish.
A classic mistake is leaving the tape on until the paint is completely dry. This causes the paint to adhere to the tape and, when peeled off, paint tears or uneven edges form. The tape should be removed when the paint is still slightly damp to the touch, but no longer dripping. Pull it slowly, at a 45-degree angle, away from the painted area.
Another mistake is applying tape over dirty or dusty surfaces. If the tape doesn't adhere well, paint seeps underneath and the lines become blurred. Clean and dry well before applying the tape, and press it firmly, especially at the edges.
Learning from mistakes (or avoiding them from the start)
Preparing walls is not the most exciting part of painting your flat, but it's the part that ensures the result lasts for years rather than months. If you have doubts about the condition of your walls or don't feel confident about any of these techniques, asking for professional help can save you time, money and frustration.
On our platform you can request quotes from specialist painters who know these techniques and work in your area. Simply upload photos and videos of the walls you want to paint, and you'll receive offers tailored to the real needs of your flat, with no surprises or improvisation.
Sources
External sources open in a new tab.